TeenFlight article

This article by Lauran Paine appeared in this month's edition of Sport Aviation.
(Click on the desired page to see it in a readable size.)


Day 35 - May 26, 2012

This week was the last week of building before the summer hiatus.  The program is shutting down for the summer as a sort of summer vacation.  However some of the mentors and a few of us students will continue to hold sporadic work sessions throughout the summer.  Also, there was discussion this week about Airventure 2012.

A couple of us worked on the canopy today.  As with the first TeenFlight build the canopy frame did not align with the longerons that are installed on the airplane.  So, being careful not to repeat the accident that happened with TeenFlight 1, we wrestled the frame into submission with...a spare part from the bandsaw?


Another large progress step was the attachment of the cowling to the firewall.  This was necessary to align the edge of the cowling with the hinges that will hold rivets after being match-drilled.


 This wing spar was lovingly dubbed the "Spar of Many Names" because of its close location to the side of the fuselage and because of its nasty habit of snagging unsuspecting backs and heads.


The cover of the fuel tank was prosealed and riveted on.  It will receive a second coat of proseal later.


Some of the tail surfaces were taken back off to allow room for the dimpling and the attachment of nutplates for the empennage fairing. 


Stay tuned, and keep watch throughout the summer for updates on TeenFlight's second RV-12 project.


Thank you for your interest in the TeenFlight program!


Day 34 - May 19, 2012

So the TeenFlight crew got together again Saturday to continue the progress on the quickly assembling TeenFlight 2 RV-12.

Early on in the day, one of the mentors gave a talk on balancing tires.  We put lead "stick-on" weights around the rims to balance them.  This is the fully assembled and torqued left main wheel.  Notice also the brake lines coming from the calipers and going up the gear leg.


The fuel tank was dusted off after weeks of sitting on the shelf, and some of the people worked on it for a while.


The tailcone fairing was fitted again, and some of the nutplate alignment holes were drilled.


Some of us installed the avionics panel for canopy fitment.  The panel was also delivered to us early in the morning with a black powder wrinkle coating as a finish over the top of the bare aluminum. 


This is the canopy hinge.


And this is the canopy frame.


The vertical stabilizer was tightened down, probably for good.


The rudder control cables were attached to the rudder and the rudder pedals.  The rudder system is now fully functional.


The TeenFlight 2 airplane as we left it.

The EAA 105 chapter hosted the EAA Aluminum Overcast B-17 restored bomber at the Hillsboro airport this weekend.  Because of the affiliation between some of the mentors with that chapter, and also because of general interest in the program, the B-17 flying crew paid us a visit at the end of the day.


Day 33 - May 12, 2012

This Saturday, the TeenFLight crew expirimented with a new sort of mentor : student ratio.  As shown by the pictures below, there was a lot of progress, and not all of it was just visual progress either.

The same dedicated student has been grinding down the canopy for four weeks now.  It is finally nearing the fuselage fittment stage.

<-----BottomTop----->

The biggest part of the day was the wing fittment.  Both sides were slid into their slots and locked down with pins.

The left wing slid in first, just after lunch.


On both wings, a skin on the fuselage interfered with the fittment of the main spar.  A die grinder was utilized and some material was ground off.


Then the right wing slid on.


The team working on the control cables, discovered that the control stick stops were installed upside down.  A mentor worked all day to correctly correct this problem.  They also finished installing the flap actuation handle, and began to drill the flaperon torque tubes.

This shows the flaps down position.


This is the flap "half-way" position.


And this is the flap up position.


These are the flaperon torque tubes.


 This is the other end of the flaperon torque tubes where it mates with the flaperon receiving bracket.


TeenFlight will be meeting next Saturday, and if the weather is nice the hangar door will be wide open. 


Day 32 - May 5, 2012

Last week a Tuesday session was held at the hangar to finish up some of the wiring and begin work on the control cable systems.  The rudder cables and the stabilator cables were run through the tailcone and stowed up in the front of the plane until further notice.  Today was the full deal, with multiple people working on multiple projects throughout the day. 

First off, although it may look like we made a ton of progress today, the tail surfaces were put on merely for test fitment and the fine-tuning of a fiberglass empannage fairing.
 
We attached the vertical stabilizer early on in the day.


The rudder followed suite shortly thereafter.


And eventually even the stabilator was attached.


These pieces were all attached to test the fit of this cone that fits over the gaps that are between the stabilator and the rudder when they are assembled on the airplane.


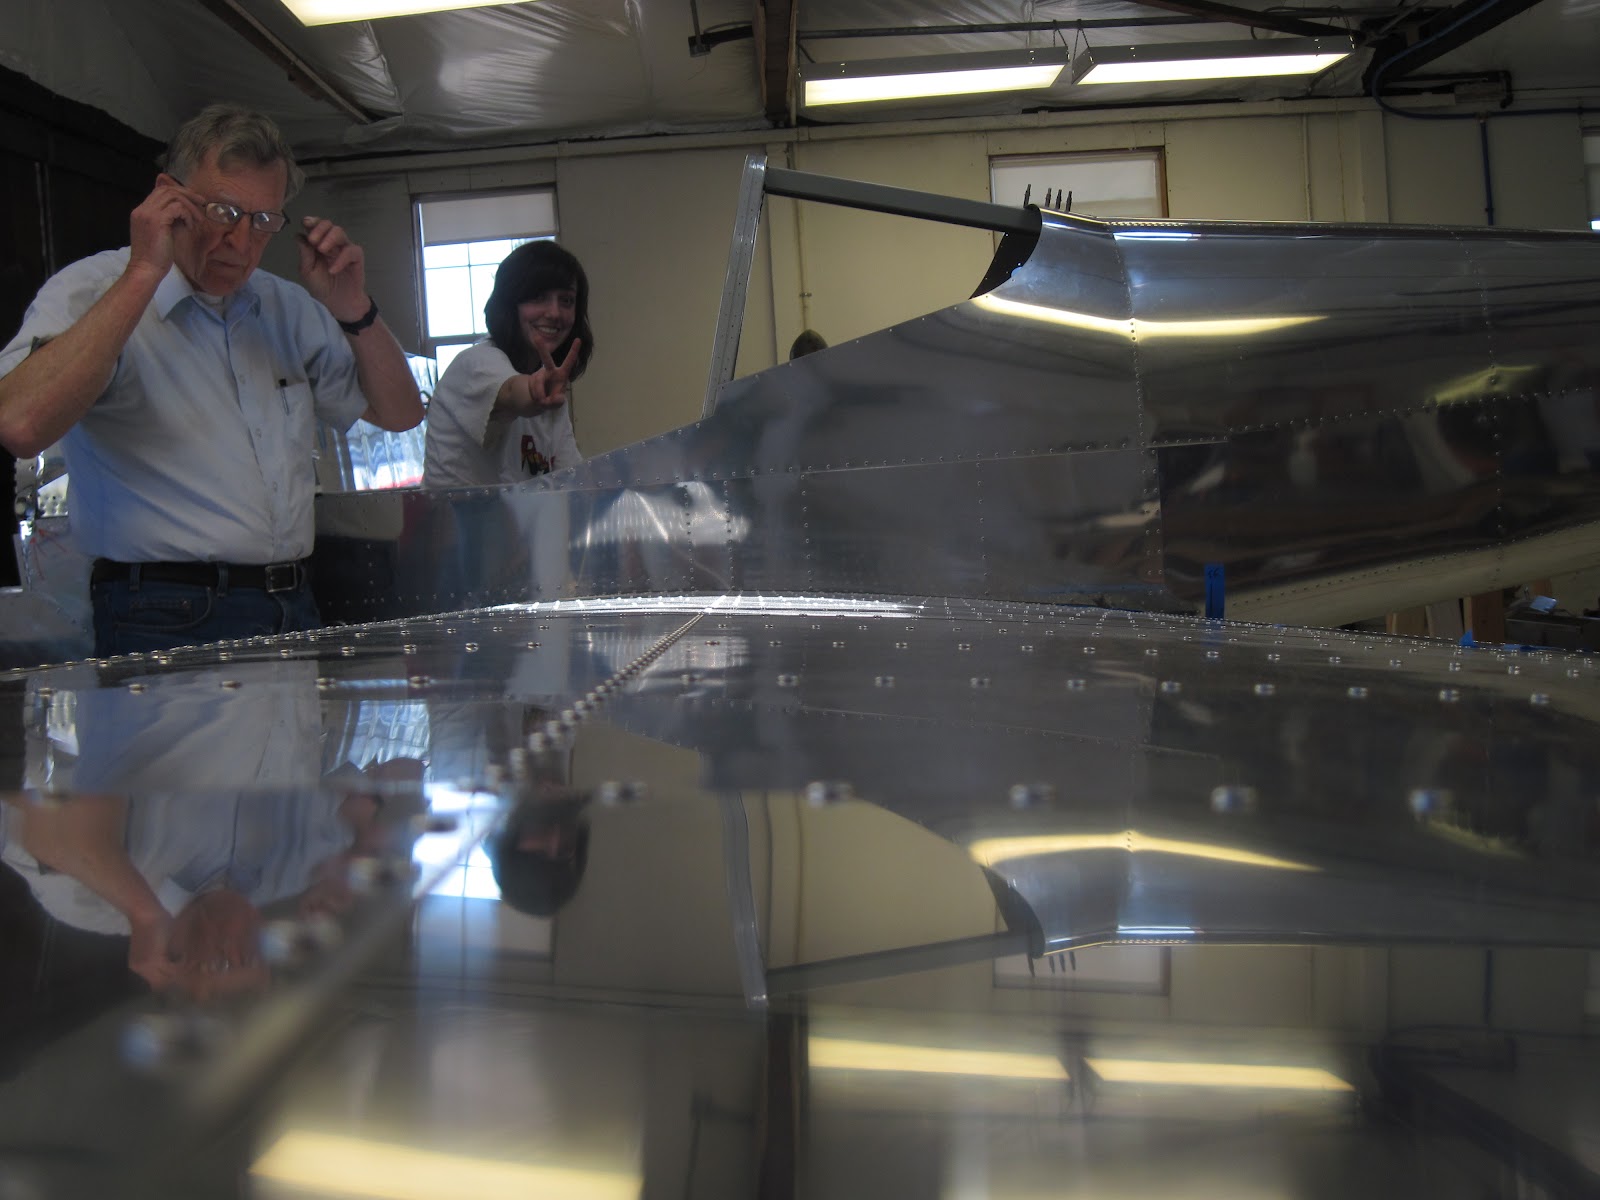
Because of a very confusing problem that we found in the wiring, one of the student mentors contacted an engineer at Vans Aircraft.  So he came out today to take a look at the problem.  It turns out it was not our fault that the wires did not line up as they should.  He was at the hangar for over four hours, but he was able to find and solve the problem.


      The cowling has almost been ground down enough for the seperate pieces to mate snuggly together. 


There is a possibility the the tail surfaces may stay on until we are ready to permanently install them, for the only remaining things to do are to calibrate the control cables and attach them to the control surfaces.

We also attached the right main landing gear.  All that is left on this gear is to tighten the bolts, install safety wire, and grease the wheel bearings. 


The control sticks were attached to the mixers that control the flaperons and the stabilator.  The pulleys above the center tunnel are where the stabilator cables attach to the stick, and the "Y" in the center tunnel is where the flaperon actuator controls will be installed.

This is the wing flap actuator handle.


We will be back at the hangar next Saturday to continue our progress on the TeenFlight 2 airplane.