Day 3 - December 17, 2016

This weekend, we mainly continued to make progress on the OP-51 project and continued to learn more about riveting techniques.  A few students completed their projects as they used their knowledge of countersinking, dimpling, and riveting to assemble the final pieces. 


A finished OP-51 project.


 The students also learned how to drill out faulty rivets that have been set without damaging the surrounding material.  This is a very important ability to have since not every fastener will be set perfectly and this method can fix that in a matter of a few minutes.  The toolbox kits are set to be started at the next class on January 7, 2017.  


Tune in next year for further updates!
Merry Christmas and Happy Holidays!

You can also check us out on our Facebook page:
https://www.facebook.com/teenflightpdx/
and on Instagram: @teenflightportland 

Day 2 - December 10, 2016

This week, TF5 began the OP-51 project, a detailed project that incorporates important knowledge of sheet metal basics. The students learned how to lay out markings for holes and spacing, as well as how to use the first power tool of the build, the deburring wheel. The purpose of this tool is to speed up the deburring process and leave a smooth edge on the part.


We then drilled the holes and cut the parts according to the layout. Some students also started to learn how to dimple and countersink holes, and rivet some of their first rivets. The projects are coming together, and we will soon dive into the toolbox kits.


Tune in next week for more progress!

You can also check us out on our Facebook page:
and on Instagram: @teenflightportland


Day 1 - TeenFlight 5 - December 4, 2016

Hey everyone!  This is Davis signing back on.  
 This past Saturday marked a new chapter; the beginning of the next build, TeenFlight 5!

It was mainly a class of learning basic building techniques and establishing classroom rules.
We then started the first project, the name tag. This project may sound simple, but it involves precise details of deburring, drilling, counter-sinking and setting two rivets. During the project, each student was paired with a mentor who offered valuable building skills and advice.


Tune in next week for more progress! 

You can also check us out on our Faceook page:
and on Instagram: @teenflightportland

Day 46 - March 26th, 2016

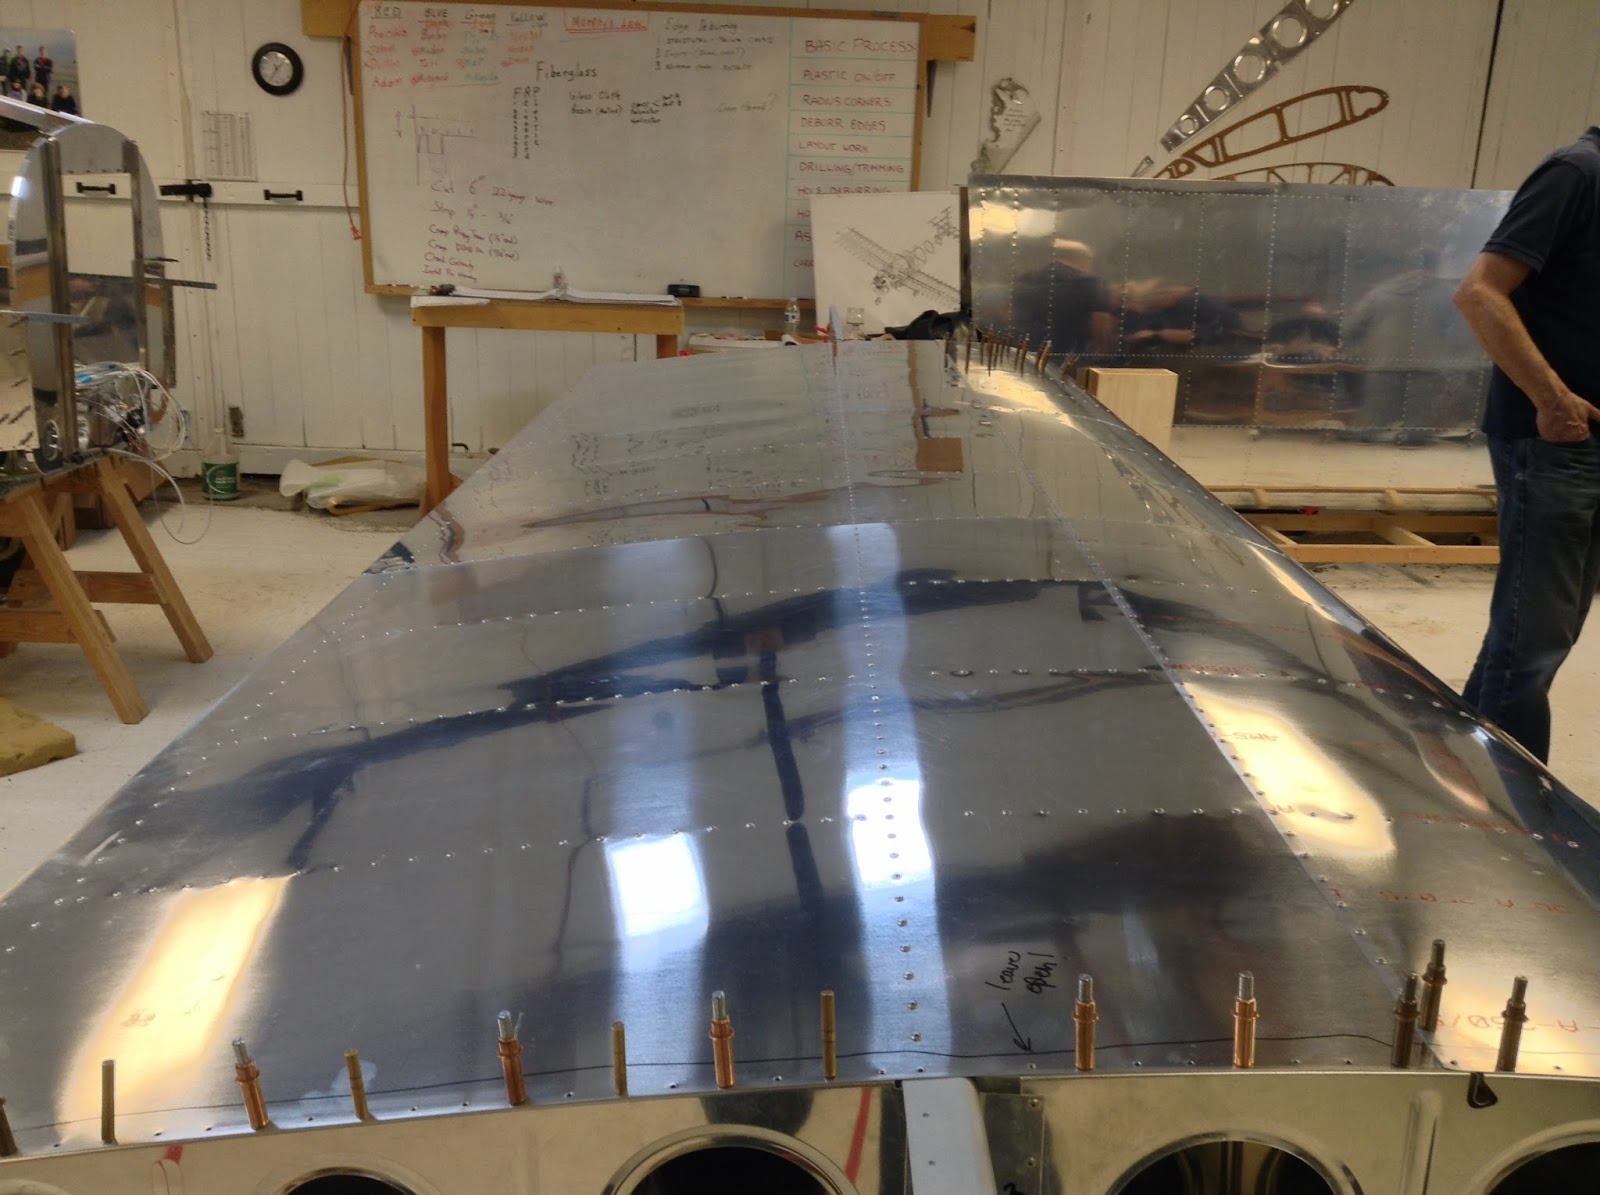
This weekend the team was brought back together to make further progress on the aircraft. Many exciting things took place, including the installation of the engine. Some other key points that were made during this class is the shaping of the cowling head.

Before

The engine still had some further prep work that was needed before the actual installment. Things like making sure that the wiring harness that connects to the engine is fully in place, that the tubing on the engine is fully secured and routed, and that we have all hardware in means of placement. 

After
The engine was officially attached to the fuselage! This exciting moment goes down as an substantial progress for Teen Flight 4. Getting everything set and connected to the engine from the fuselage is now the next priority for this group.  

Cowling head
When it comes to shaping the cowling it is very important to remember when shaving it down from its original form, keep in mind that it's better to not take off too much at once. It is better to take off less material than more, If too much material is removed it's impossible to back track. Better safe then sorry. Measuring each piece to one another is also crucial, making sure that you are taking off as close to the right amount as possible. Not only this, but making sure they fit in uniform with the aircraft, as this is considered part of the 'frame'.  

As to the physical aspects that are coming in place
Mentors and students make their way with some filing, helping with these pieces to not have too rough of edges when built along in the process.

Being a student in this class, it takes my breathe away seeing this progress further towards our finished product. Along the way we learn many skills and tips that are beneficial to our education with material objects. Applying that knowledge and using it physically to create something of excellence is all the while worth it. Dedicating our time every Saturday to learn.


Friendly indeed, for needs may come. As a team we are one. 

Day 45 - March 12, 2016

This week at the hangar, the TF4 students mainly focused on the the empennage, the landing gear fairings, and the battery installation.  Noticeable progress was made on the vertical and horizontal stabilizer which are all apart of the area known as the empennage.  The main ribs that make up the vertical stabilizer were all riveted to the rear spar of the assembly.  


After this task, the skin for the vertical stabilizer was unwrapped and the painstaking job of deburring began.  As for the stabilator, the inspar ribs were aligned with the spar caps and will soon be riveted in the coming weeks.   


The landing gear fairings were predominately being sanded in order to smooth out the space between the front and aft halves of the main fairings, but other work was also completed.  The wheel fairing brackets were aligned and clecoed in order to maintain the fit between the two halves.


Also, the battery was installed with the help from the mounting bracket. 


As for other news, it is time to pass on the writing of the blog to another TeenFlight student member.  So this is Davis signing off.  It's been fun.  Thanks for reading and stay tuned!
   

Day 44 - March 5, 2016

On Saturday, the students worked on many tasks including the rudder and vertical stabilizer, the fuselage components, the landing gear, and the landing light.  As for the empennage, the rudder was completed after many pulled rivets and drilled holes.  Along with this task, the vertical stabilizer rear spar continued to be riveted, and the skin will be riveted soon. 


Many fuselage details were worked on including the installation of previous parts and the organization of the cables.  Also, the main landing gear struts were re-installed to verify the fit as well as to torque the main bolts.  The nose landing gear was also installed after time was spent aligning and drilling the assembly to the engine mounts.  The rear section of the engine mounts must also be completed with this step due to the fact that the nose gear bolts screw into them.  


 Stay tuned for next week!


Day 43 - February 27, 2016

The past two weeks have been exciting for TF4 with the painting of the internal fuselage and many other tasks.  Earlier this week, the fuselage was transported to the Van's Aircraft factory to be painted, and it looks great!  Of course, this could not have been done correctly if it weren't for the hours of prep work that were completed prior to the paint.  


As for the vertical stabilizer, the upper and lower spar caps were prepped and aligned with the vertical stabilizer rear spar and will be riveted next week.  The rudder was worked on with the attachment of the spar caps and the rudder horn to the rudder spar.  Also, the rudder ribs were riveted to the spar.  The baggage bulkhead was trimmed to allow for an easier way to remove it, without having to remove the fuel tank with it.  


Despite all of the sanding that has been done on the engine cowling, many pinholes still remain on the surface.  The solution comes down to putty which has been applied in multiple layers to fill the holes.  


The right wing tip is very close to being finished after the riveting that was previously worked on. The landing light is the last task waiting to be completed on this wing.  


Stay tuned for next week for more progress! 

Day 41 - February 13, 2016 & Day 40 - February 6, 2016

Over the past two weeks, many tasks were worked on including engine parts, the wing tip and landing light, and the flaperons.  As for the engine, carburetor details were completed including the drip trays and other parts.  The cowling and oil door continued to be sanded and the door will be attached soon.  As we near toward the inaugural painting of the interior, many panels and skins both inside and out had to be scuffed and cleaned to help with adhesiveness of the paint.  


The landing light lens was cut and drilled and will be fit in the next few weeks, along with light itself.  Also, the flaperon torque arms were bolted to the pushrod assemblies, which is the part that moves the flaperons to provide for roll controls in flight.    


See you next week!

Day 39 - January 30, 2016

Overall, the main focus of this week's TeenFlight 4 build was the wings and flaperons.  As for the wings, the wing tip on the right side was worked on, which involved proper alignment of the skins and holes.  Also, the area in the outboard leading edge of the right wing skin was cut out to serve as the inset of the landing light. 
 

The left and right flaperons were fully completed and riveted together.  They were then attached to the wings on the mounting brackets after the wing tips were completed.  Next in the process, was attaching the wings to the fuselage.  This is a very meticulous process due to the simultaneous aligning of two spars in order to fit two pins that secure them in place. 
 
After a while, the wings were then lined up and it's starting to look like a plane!  


The engine was also worked on with the reconfiguring of the cooling hoses and the applying of RTV (Room Temperature Vulcanization) to seal the fuel return line. 
 
Stay tuned! 
 

Day 38 - January 23, 2016

This Saturday, noticeable work was done to the wings, flaperons, and engine parts.  As for the wings, the top skins were riveted on the right wing and the wing tip skins are the only remaining skins to work on.  After time was spent on aligning the holes and fitting the rivets, hundreds were set in place. The hole for the landing light still needs to be cut in the leading edge of the wing, but this can wait while work on the flaperons remains consistent.   


The flaperon skins were riveted on after proper alignment and fit were achieved.  The flaperons will be complete in the coming weeks, and the flaperon linkage system will be aligned with the fuselage connector.  


Many small engine parts were worked on for the first time after the oil was drained.  The canopy and fiberglass were also worked on, but only so much can be done since the parts are in their last stages of sanding and filling.  

Stay tuned for next week!